Showing posts with label Freebie. Show all posts

Friday, May 06, 2011

Freebie Friday : Homemade Pennant Bunting

I love the idea of hanging pennants/bunting, whether it be made from paper, recycled materials, or fabric. It adds such a touch of happy to any room. I had big plans to make both of my boys personalized bunting for each of their rooms, but never seem to have the time to sit at my sewing machine anymore. I do however have mad skills on the computer from time to time so, I thought why not make printable paper pennants!

My little Holden is turning three next week (sniff sniff) I thought these pennants would be a perfect little happy b-day surprise for his room...

printable pennant bunting

Since I love a good freebie and like to share with my readers, I'm offering you a free printout of these pennants. Download it & save it to your computer, add the font you wish then print onto cardstock (multiple times if you wish) use a hole punch at the corners, add some ribbon and attach to your wall!

This is for your personal use only, if you make some of this pennant bunting from this printout I would love to see it! So don't be afraid to let me know, link back here, or upload a pic to my Flickr Pool!

Enjoy :)

Free Pennant Bunting Digital PDF, Click the picture below...


xo

Tuesday, April 26, 2011

Plush Owl Pattern Revisited!

Back by popular demand!! The first pattern got lost somewhere on the interwebs when I shut down my website (sorry about that!) so please enjoy the new one!


Plush Owl Pattern
copyright www.HeydayFashion.com
FOR PERSONAL USE ONLY NO RECREATING FOR RESALE


pink_fluff_owl

Owl Body ----> Here

Owl Parts Placement ----> Here

Owl Parts ----> Here

Instructions ----> Here and Here.


<3

Friday, September 25, 2009

Free Alphabet Poster

I don't have a whole lot of money to decorate my kids room, let alone my whole house, so I've come up with some fun and cheap ideas to make mi casa all fancy like over the years!

I've been drooling over some gorgeous alphabet prints over at Etsy for my son's room.

I especially love petitcollage's Animal Alphabet Silkscreen Poster and pennypeoples's Alphabet Print.

Both of these prints inspired me to come up with my own alphabet collage to adorn my little ones wall...

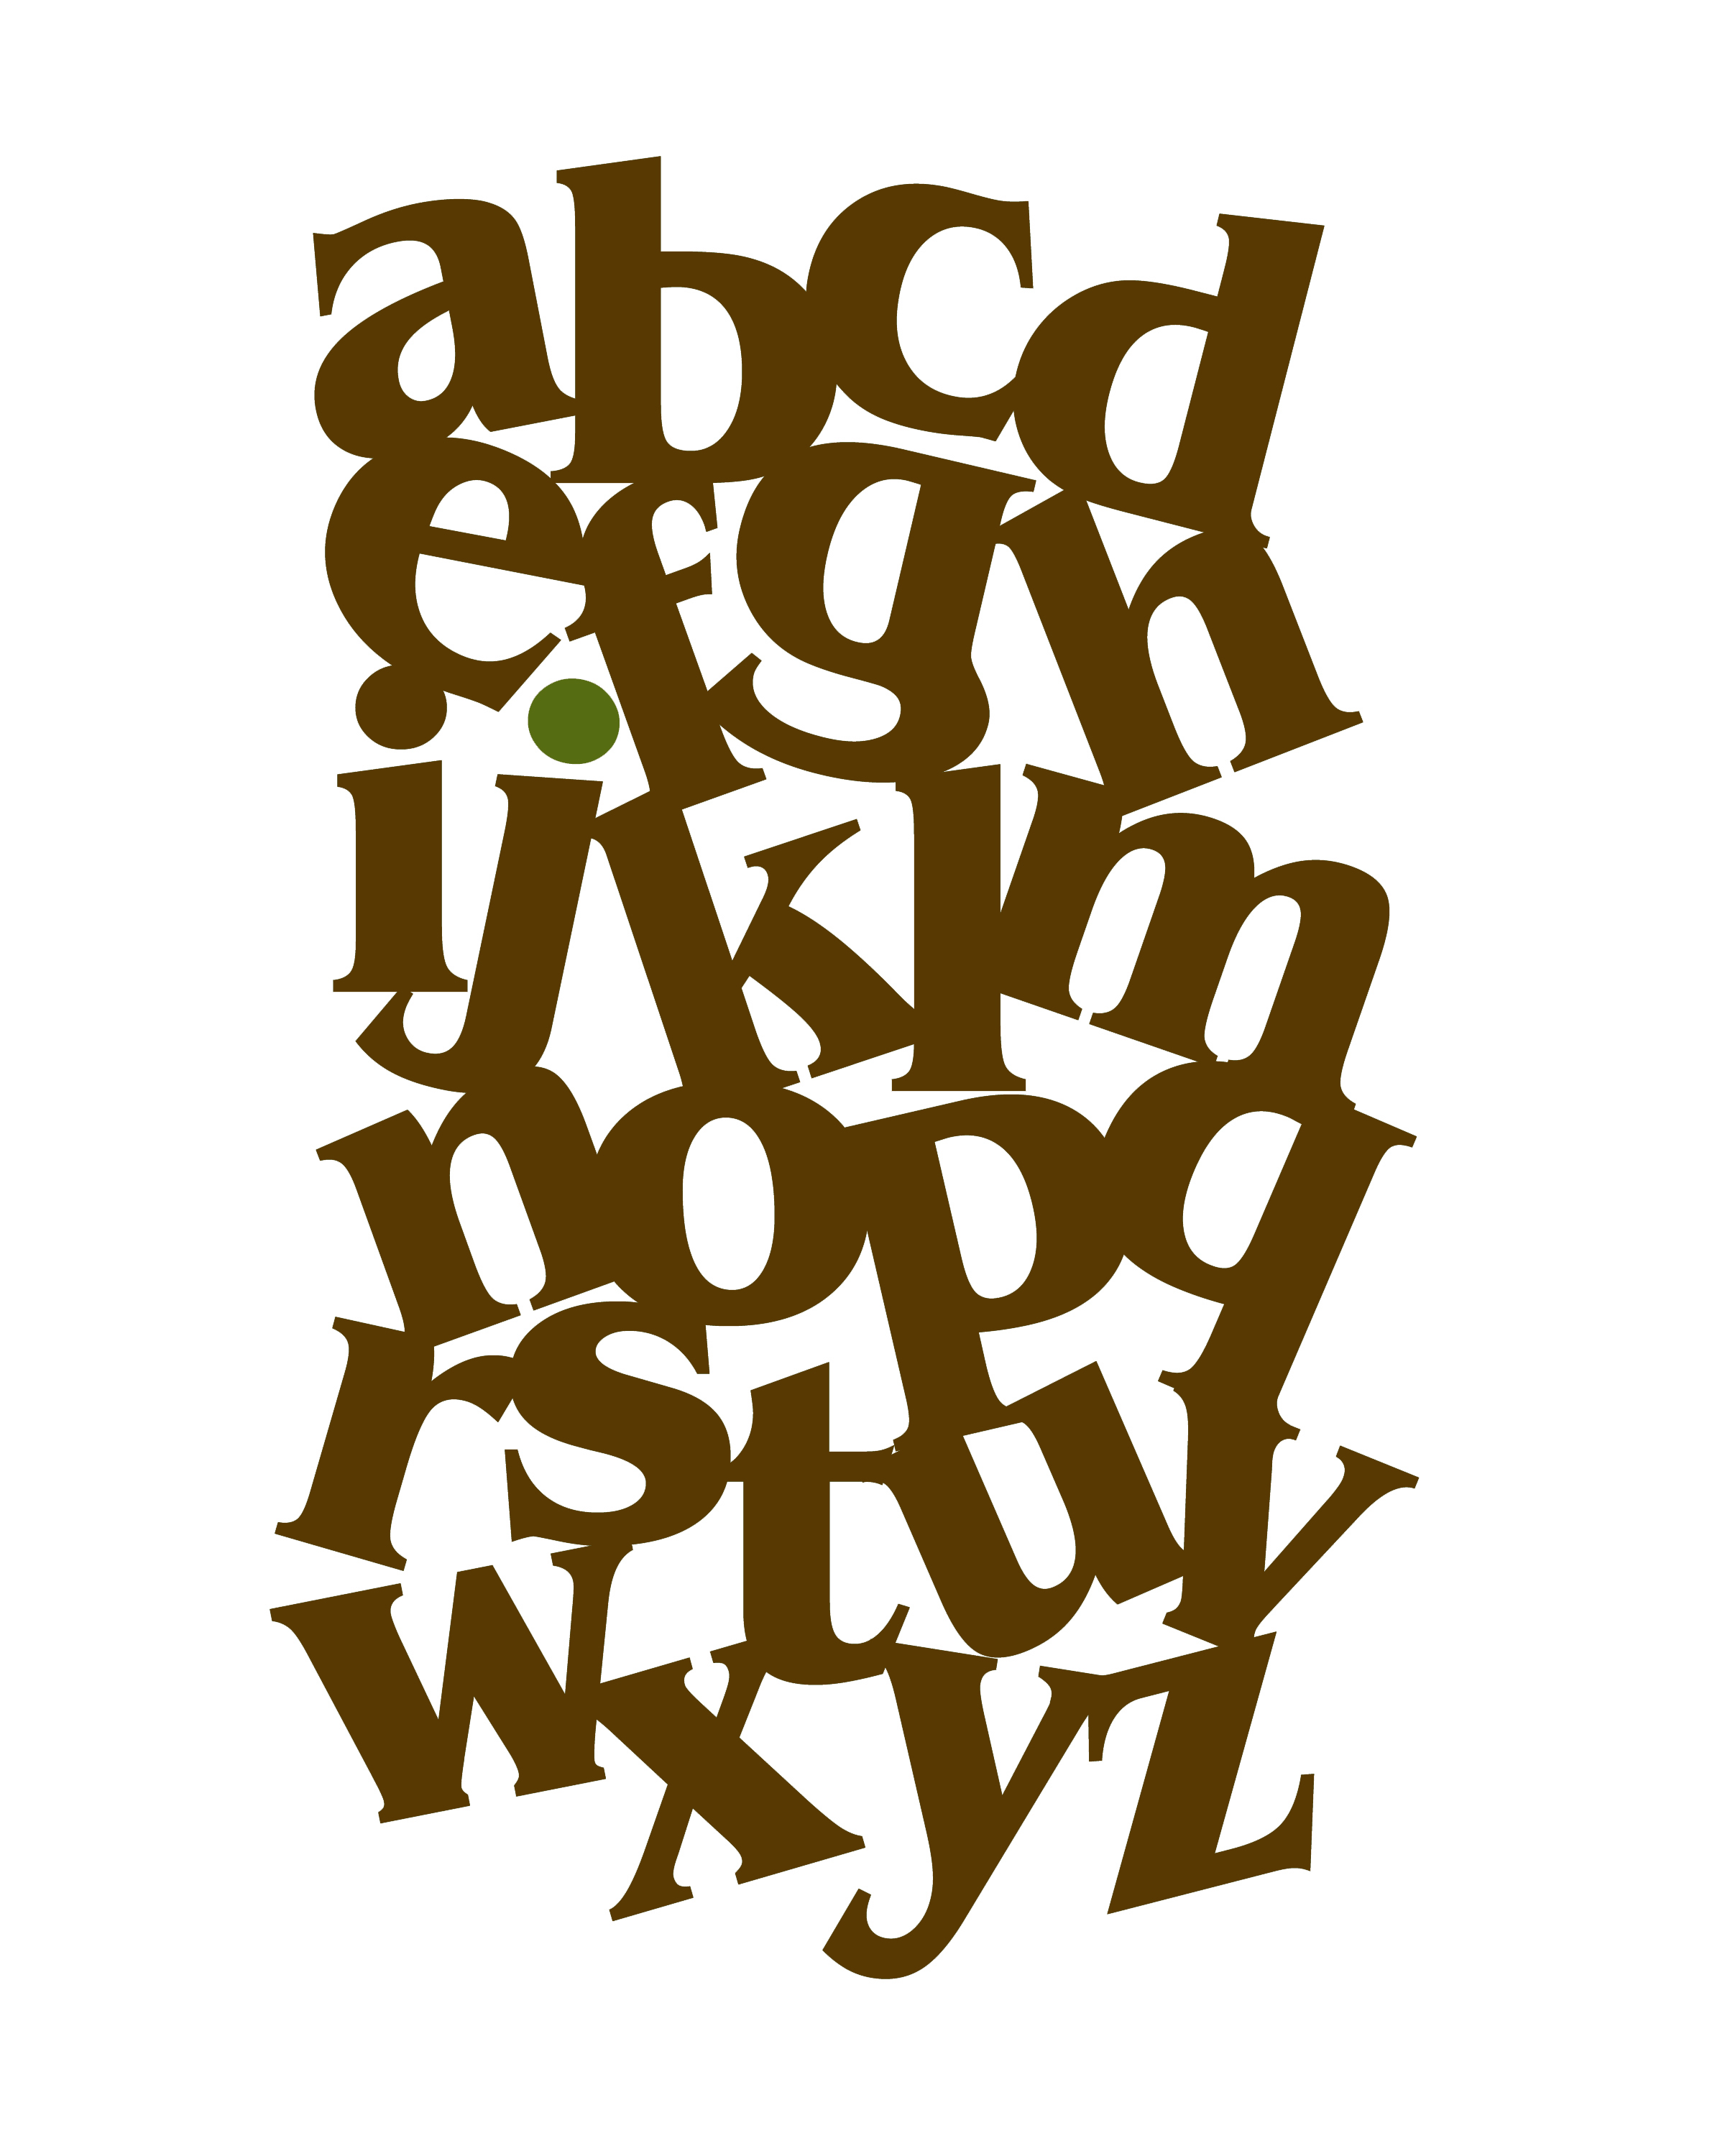
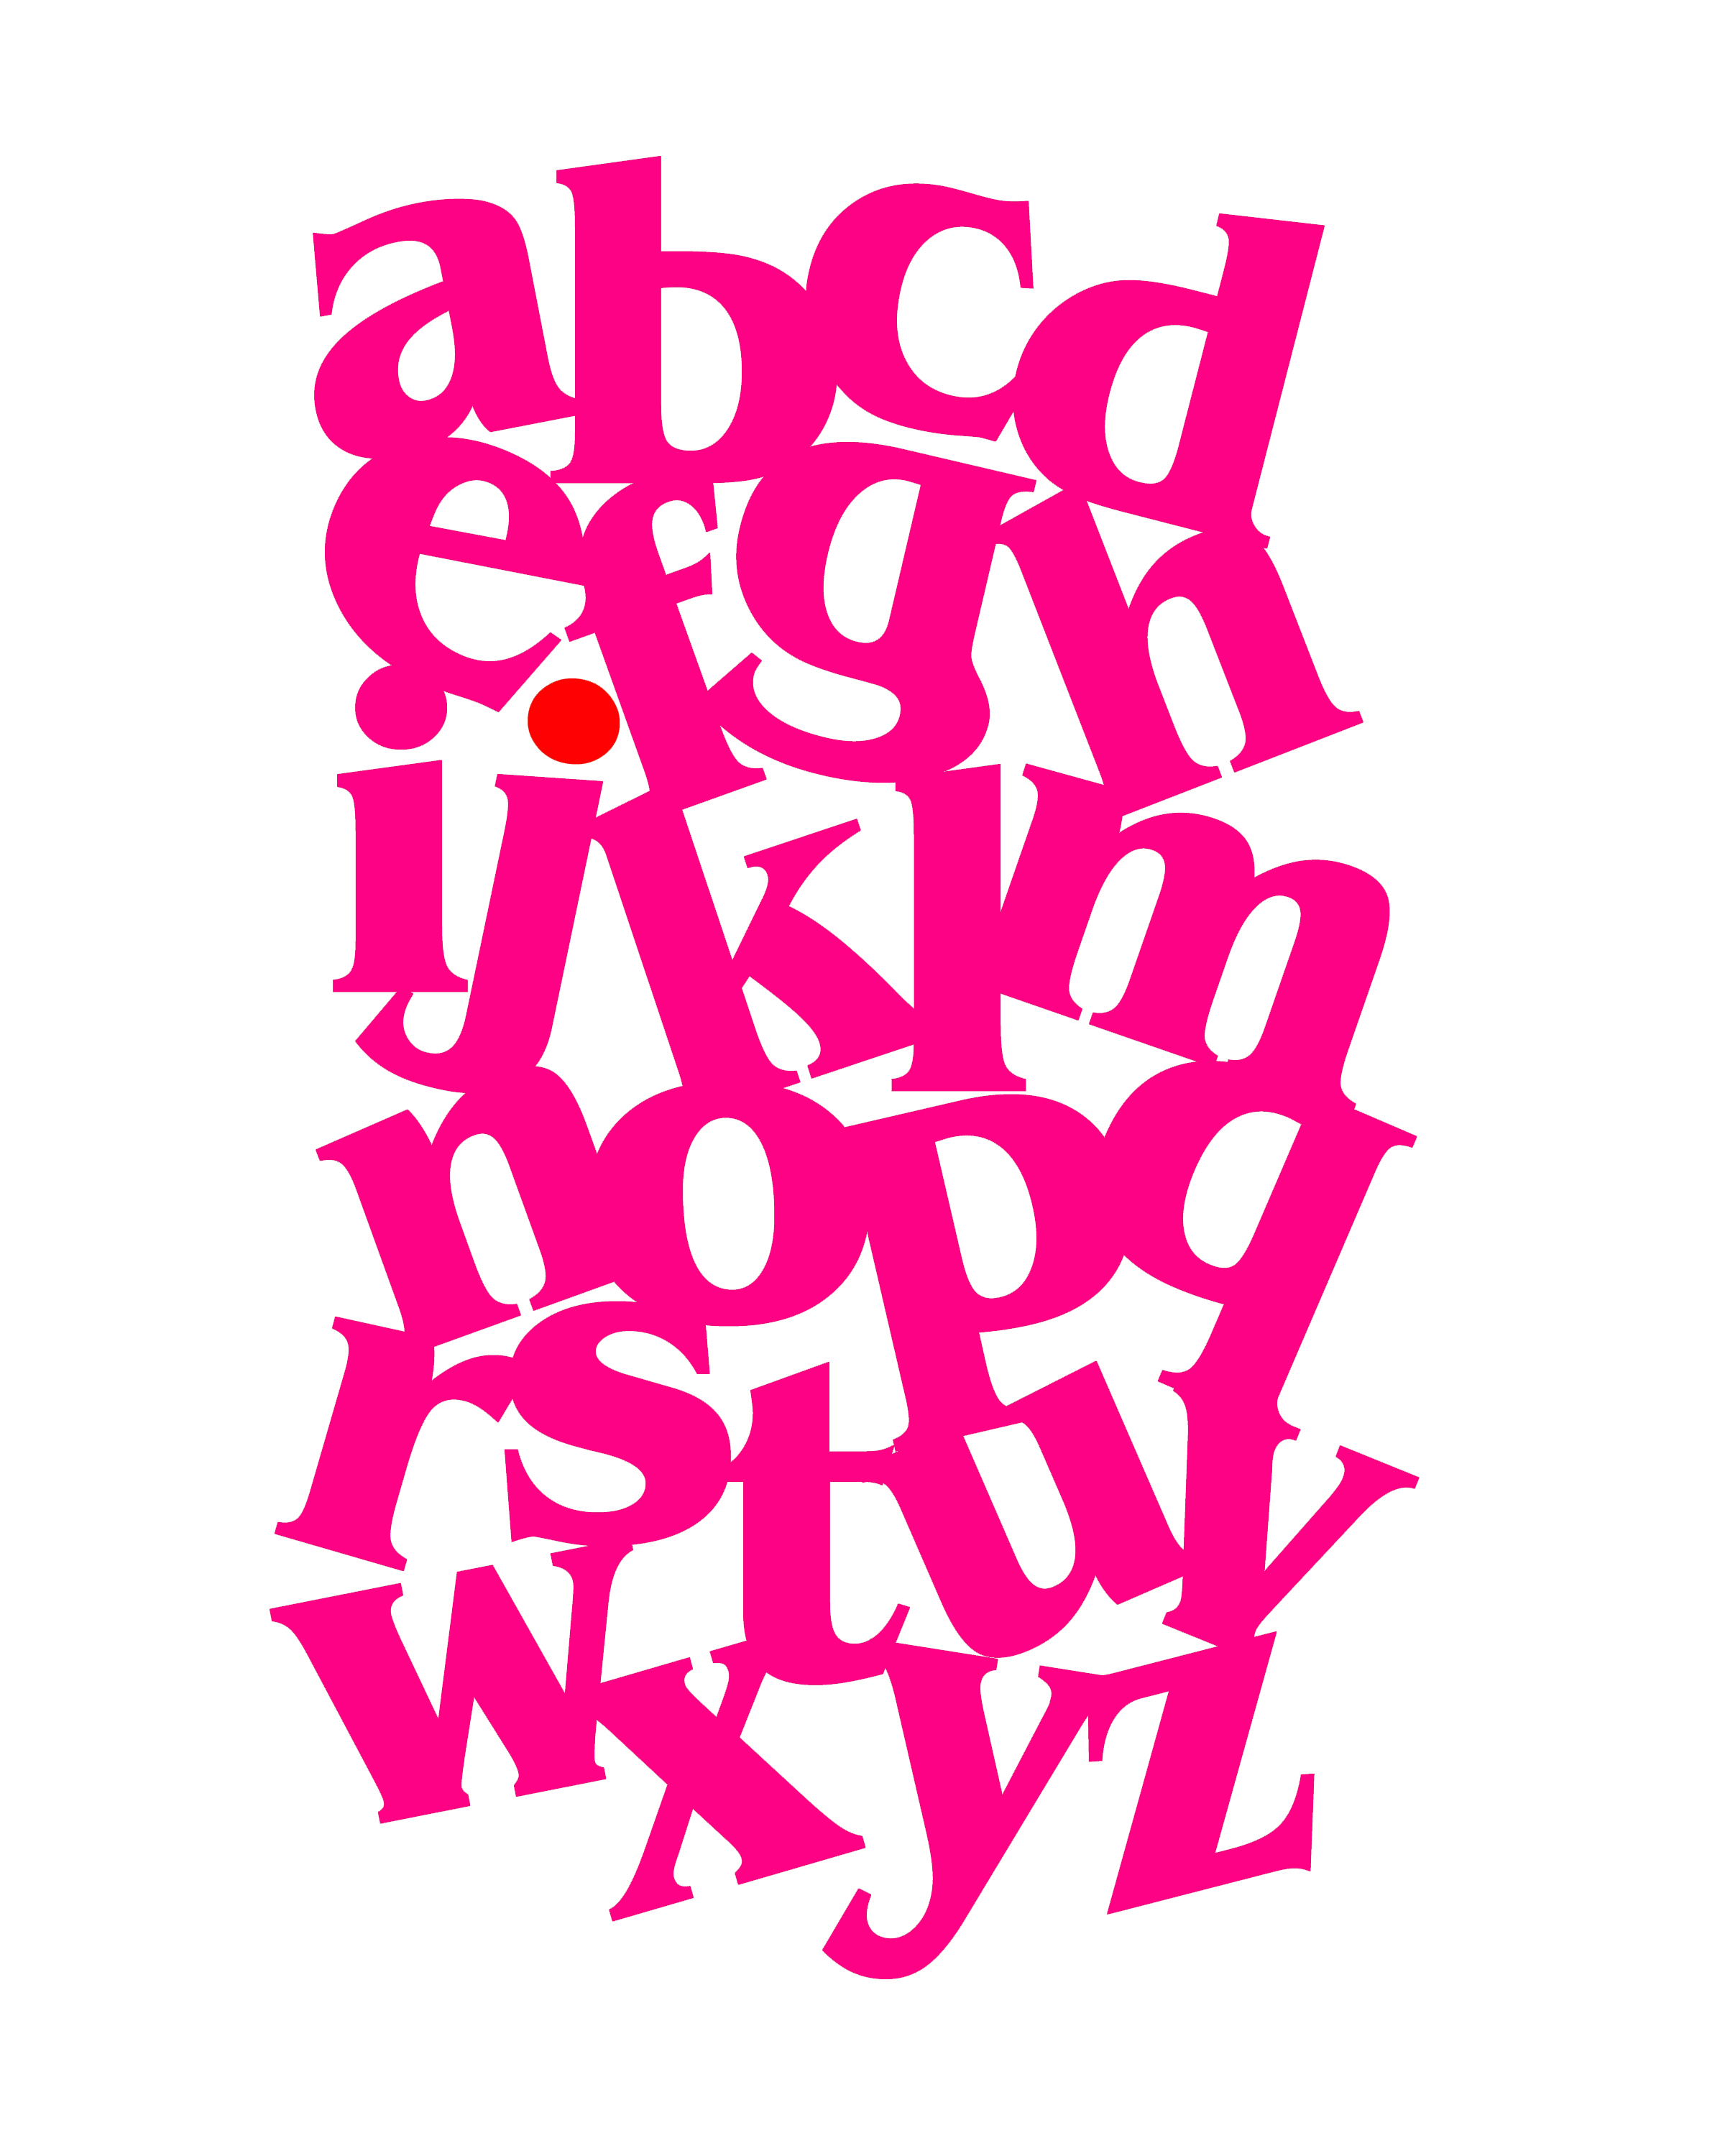
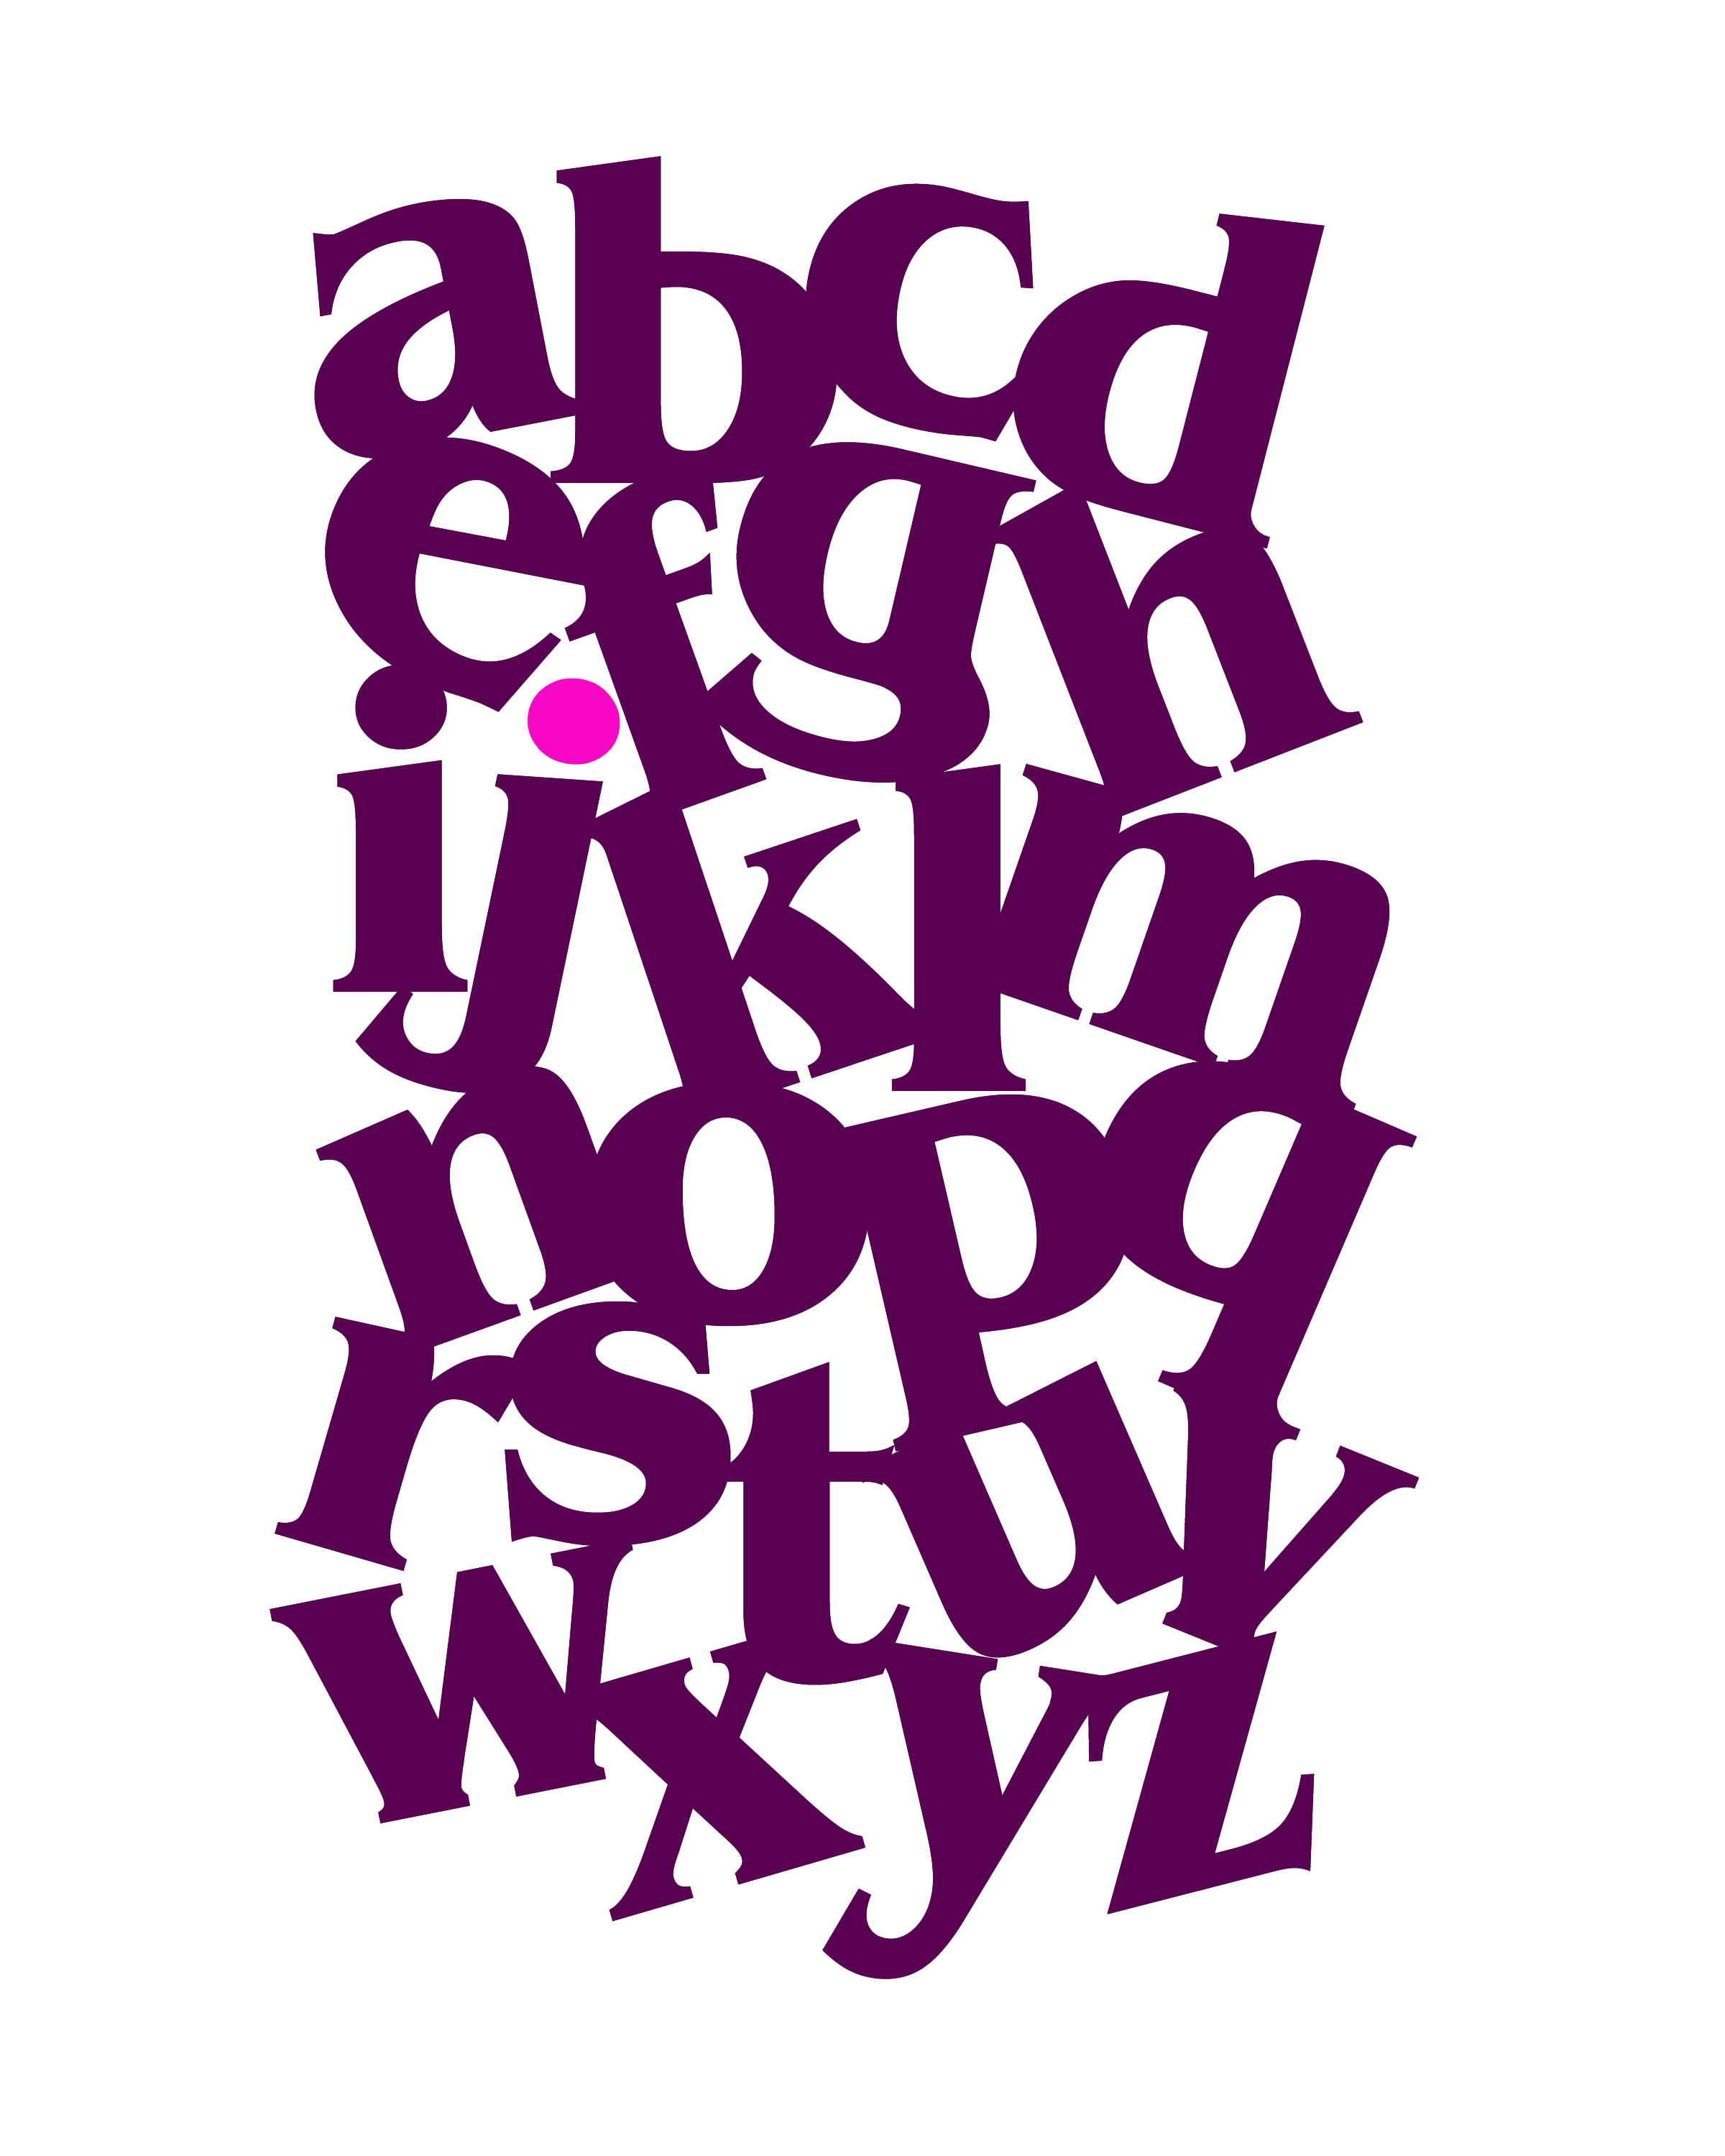
Alphabet Poster

I printed this out with my regular ink jet printer and slapped a $5 Walmart frame around it, and whoo hoo instant art!

I made this print in 6 different colors, so you can print them out too.

alphabet poster colors

The size of the poster is 8x10 inches, just click the link below to see the original size, then right click to save to your computer and print.

Brown
Green
Teal
Orange
Pink
Purple

Enjoy! ♥

Thursday, June 25, 2009

Rag Rug Finished!

I finished that rag-rug I was working on, it came out to be about 24 inches wide. Now I making one for our little guys bathroom in red & white to match his Dr. Seuss theme he has going on in there!

rag-rug finished


rag_rug_complete

I never did get around to making that tutorial video either, but I did come across these fabulous blogs that will help you (if you are so inclined) in making a rag rug for yourself!

Rag Rug Cafe - Great site with videos if you don't know how to crochet but would like to make a traditional rag rug using the toothbrush method

Moda Bake Shop - How to make a braided rag rug - super easy!

Craft Stylish - A fabulous blog & post on how to crochet (or knit) with fabric!

Enjoy ♥

UPDATE:
Here is my rough pattern, ymmv! I used a Boye size Q 15.75mm hook and my fabric strips were about one inch wide.

dc= Double crochet

Chain 4, join to form a ring

1st round - ch3 (acts as first dc) 9 dc crochet in the ring, join (10 stitches)

2nd round - ch3, 1 dc crochet in the first stitch, 2 dc in each of the other stitches, join (20 stitches)

3rd round - ch3, 2 dc crochet in the first stitch, 1 dc crochet in the next, repeat, join at the end (30 stitches)

4th round - ch 3, 1 dc crochet in the first stitch, *2 dc crochet in the next stitch, 1 dc in the next stitch, repeat from *, join(40 stitches)

5th round - ch3, 1 dc in the next 2 stitches, 2 dc in the next, *1 dc in each of the next 3 stitches, 2 dc in the next stitch, repeat from *, join (50 stitches)

6th round - ch3, 1 dc in the next 3 stitches, 2 dc in the next, *1 dc in each of the next 4 stitches, 2 dc in the next stitch, repeat from *, join (60 stitches)

7th round - ch3, 1 dc in the next 8 stitches, 2 dc in the next, *1 dc in each of the next 9 stitches, 2 dc in the next stitch, repeat from *, join (72 stitches)

8th round - 1 dc in each stitch around, join fasten off, weave in ends

If you want a bigger rug, repeat rounds 3-7 until you gt your desired size, always end your rug with a single row of dc/hdc/sc (or any decorative stitch) all around.